You will need to have the database for Genesis R&D or Food Processor set up before installing ESHA Port.
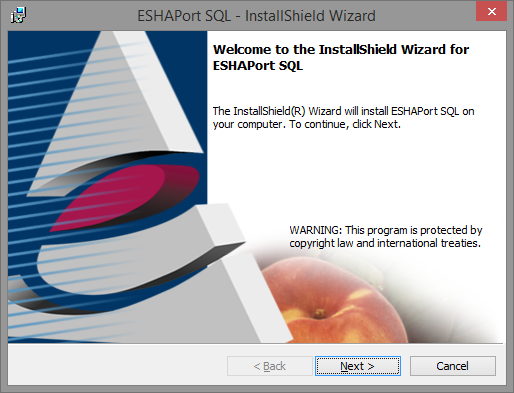
1. Open the installation file that was downloaded. (Right Click - Run As Administrator)
2. Click
...
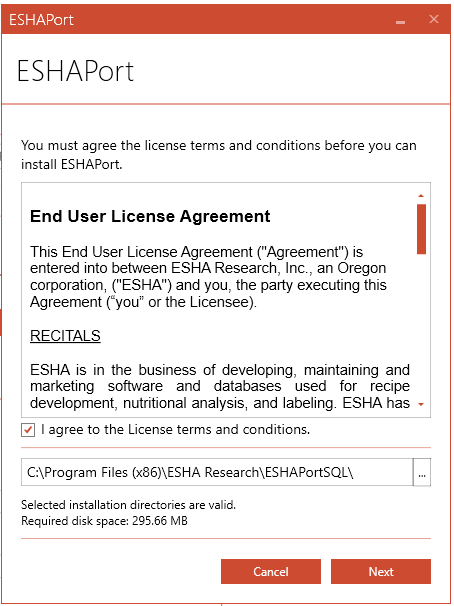
3. Check the box to accept the terms of the License Agreement

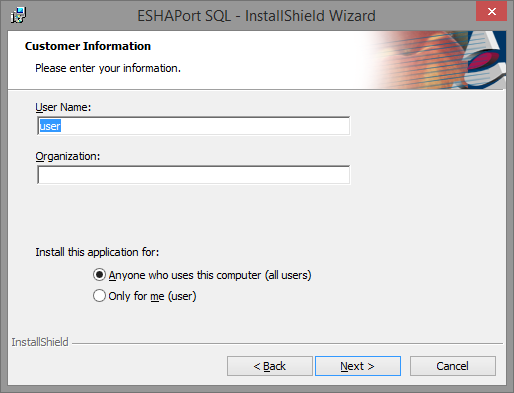
4. Input your user(optional), organization(optional)
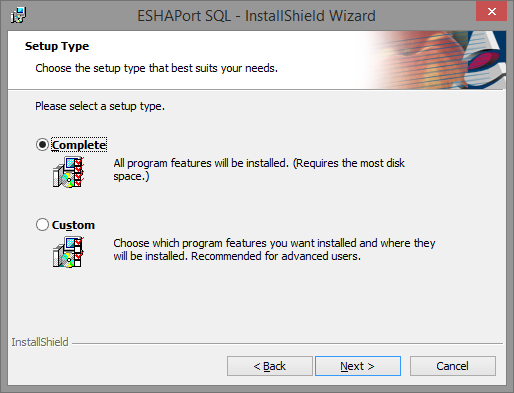
5. Choose full install if you want to use the default installation path (C:\Program Files (x86\ESHA Research\ESHAPortSQL\) and you want to install all options (which are only the application and the help files).
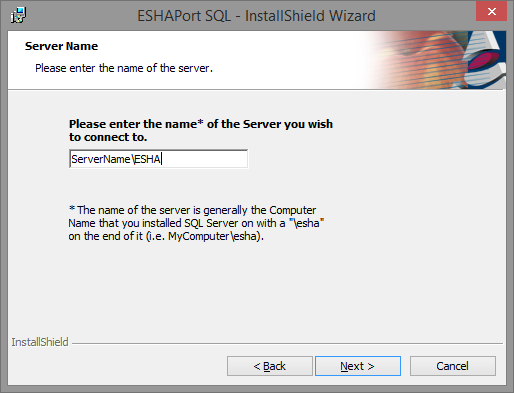
6. Enter the name of your SQL Server. This is generally your server name followed by \ESHA
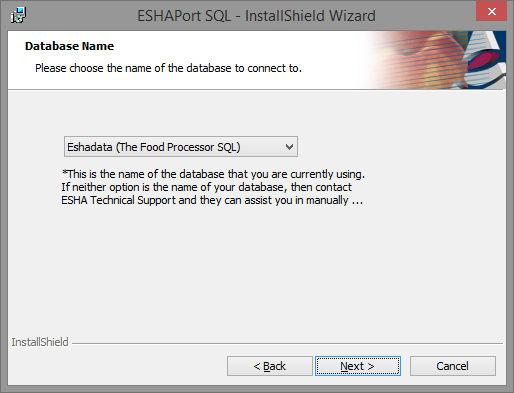
7. Choose your database name. (Typically Gendata for Genesis or Eshadata for Food Processor) If you have changed the name of the database, you will need to edit the ini file for ESHA Port after installation to change the database name.
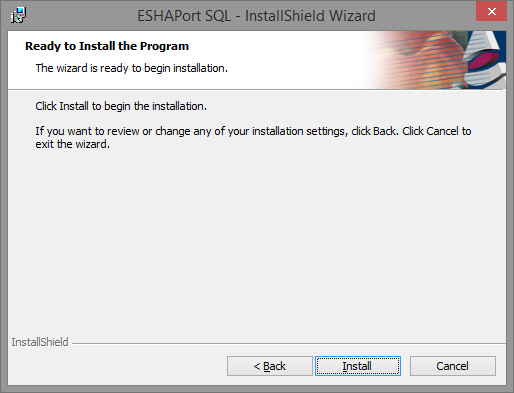
8. Click on Install
...
"I agree to the License terms and conditions" and select Next
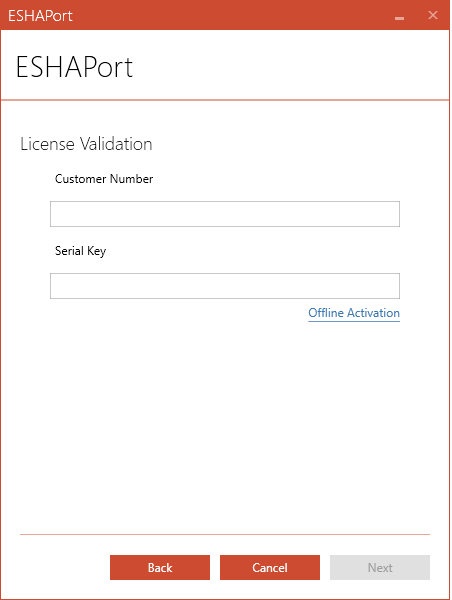
3. Enter in your Customer Number and Serial Key in the appropriate boxes
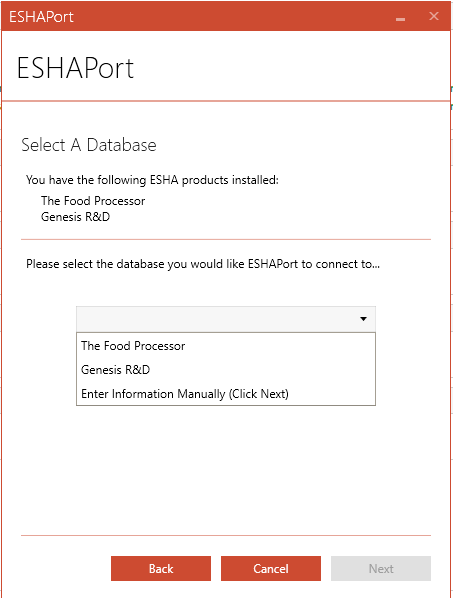
4. It will detect your installed products (The Food Processor, Genesis R & D or Both) you will need to select the database you want ESHAPort to connect to initially. (you can always change it later in the ini file)
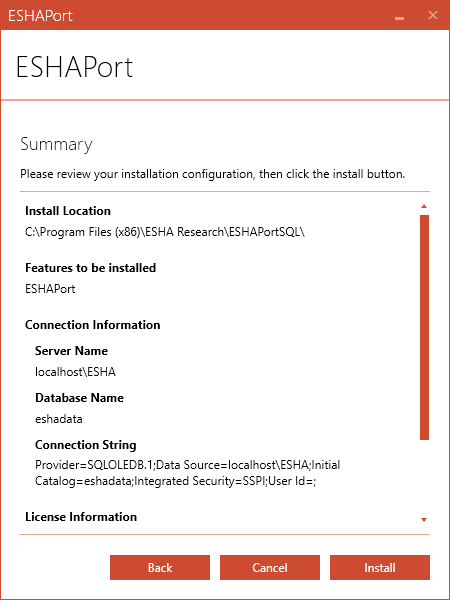
5. A summary page will appear, confirm the details match up with your expected database and click Install.
6. You may be prompted with a dialog box to grant permission to the app to install, Click Yes if prompted.
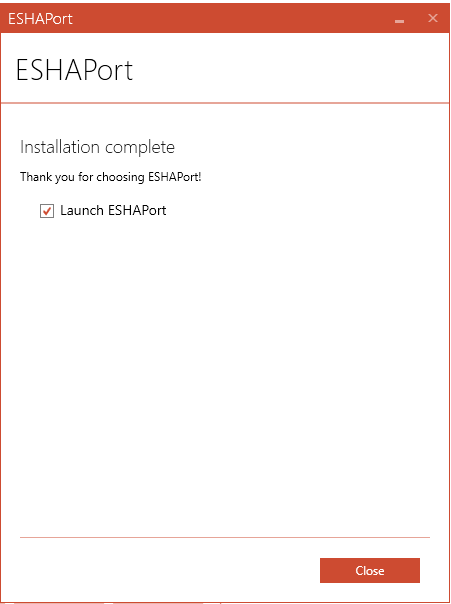
7. If installed correctly the following screen will pop up:
If any errors occur report the error message to support@esha.com